Setting up a VPN connection using Apple OS 10.4 (Tiger)
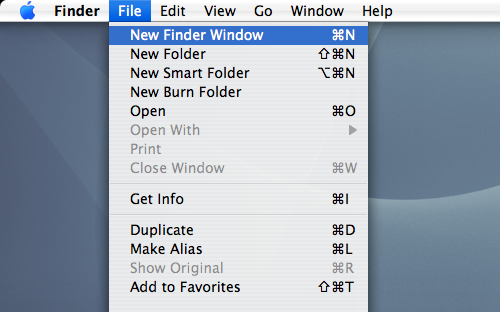
To get started, open the 'Applications' folder by going to the Finder (top left of the desktop) and choosing 'New Finder Window' from the 'File' menu.
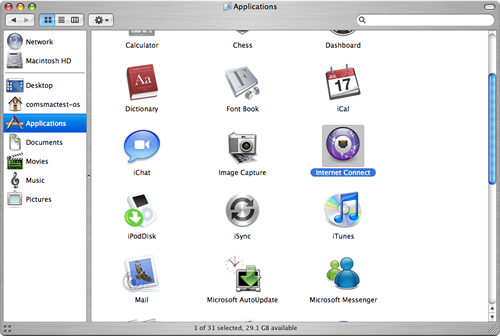
Click on the 'Applications' icon, then scroll down until you see the 'Internet Connect' icon.
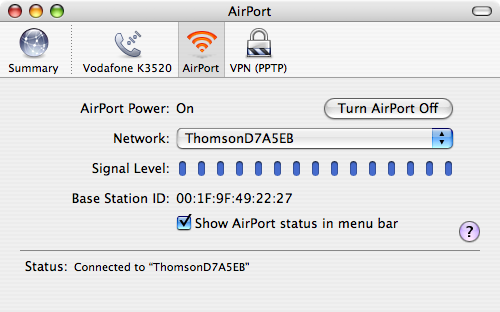
Double–click on the 'Internet Connect' icon. You should see a window like the one below.
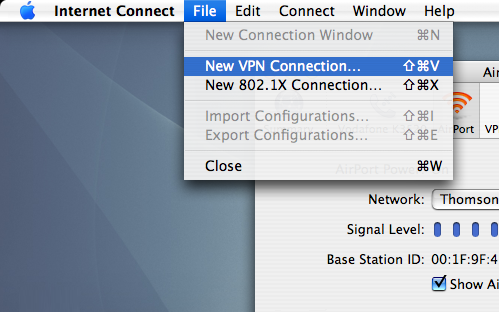
Next, go to the 'File' menu and select 'New VPN Connection...'
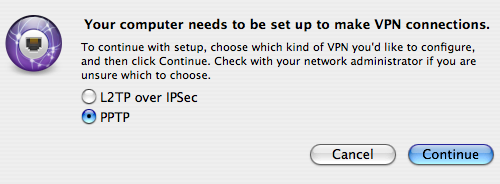
You should see the following screen. Click 'PPTP', then click 'Continue'.
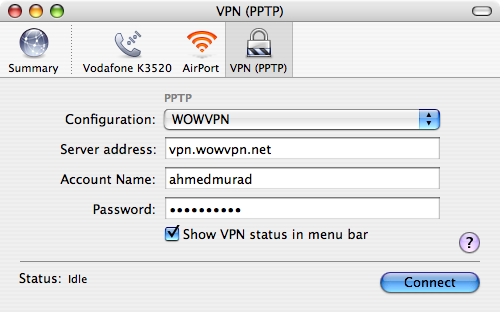
The next screen will look like this:
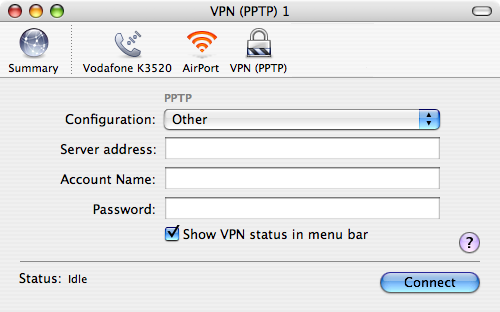
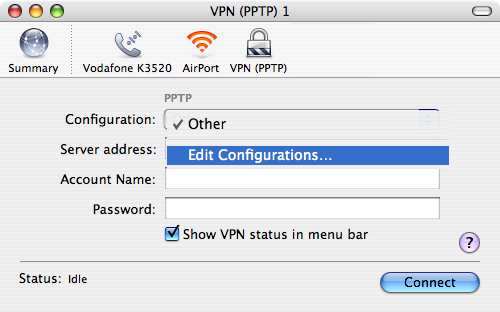
Select the Configuration drop down menu and click on 'Edit Configurations...'.
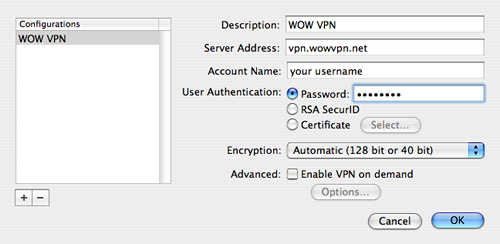
On the next screen enter your WOW VPN credentials as follows:
Description: WOW VPN
Server Address: vpn.wowvpn.com
Account Name: your WOW VPN username
Password: your WOW VPN password
Then click the 'OK' button.
Your configuration is now saved, click on Connect to connect to WOW VPN.
Once connected to WOW VPN you will see a new icon at the top right of your page advising how long you've been connected. You can click on this icon to disconnect or reconnect to the service at any time.

Remember to disconnect when you are not using WOW VPN as your internet connection speed may be faster without it.
Need Help Setting Up WOW VPN?
Our support team is ready to help you configure your VPN connection quickly and securely.
Contact Support
[ back to top ]