Setting up a VPN connection using Apple OS 10.8 (Mountain Lion)
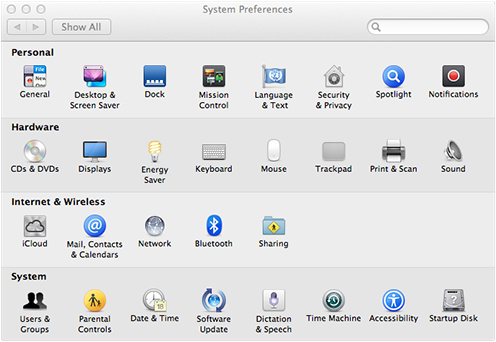
To get started open the System Preferences by going to the Apple menu and choosing "System Preferences." Or choose "System Preferences" from the Dock, and click on the 'Network' system preference.
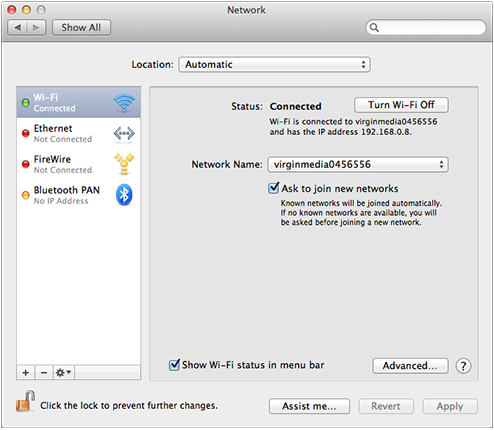
In the 'Network' system preference there is a list of network connections on the left side. Click the '+' icon (at the bottom left) to make a new connection for the VPN.
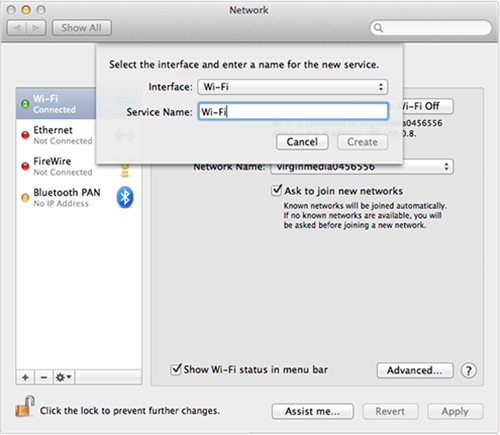
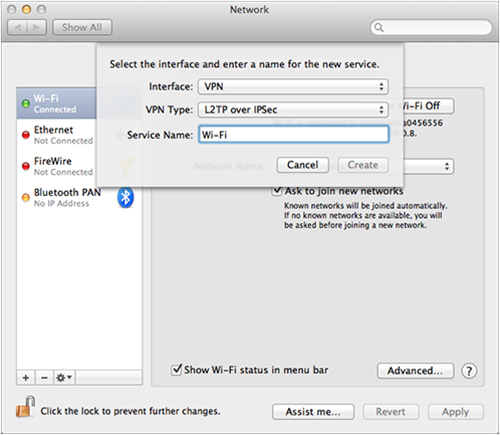
When you click the '+' icon, a new service sheet appears. Click on the 'Interface' popup menu to see the list of choices.
In the list, select 'VPN'.
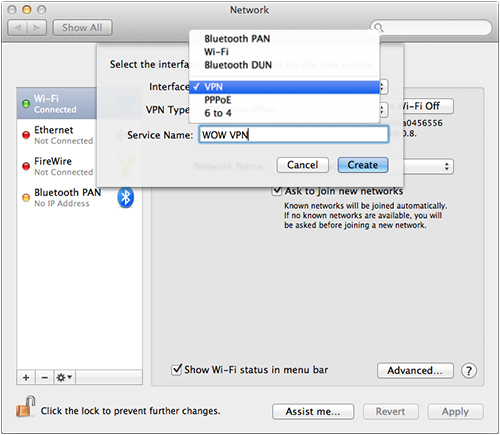
The 'VPN Type' should automatically be set to 'L2TP over IPSec', as seen in the picture below. Click on the "VPN Type" popup menu.
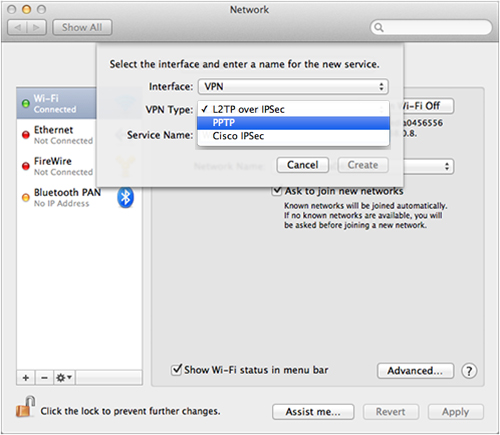
In the drop down list choose "PPTP"
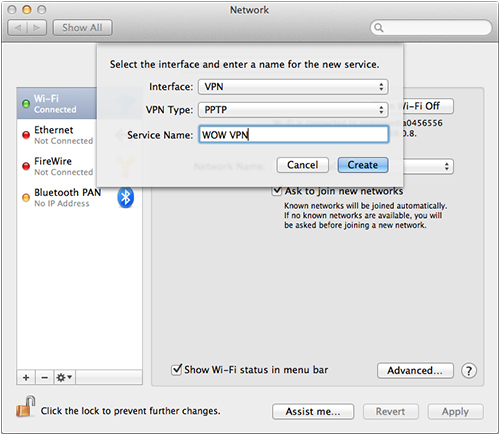
Next, set the Service Name to "WOW VPN" and click 'Create' to create the new connection.
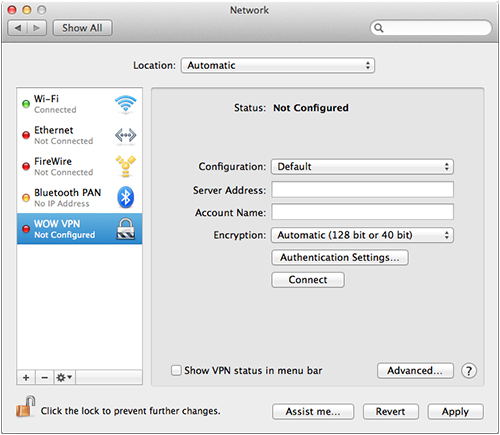
Now that you have a VPN connection, you'll need to make a Configuration for it.
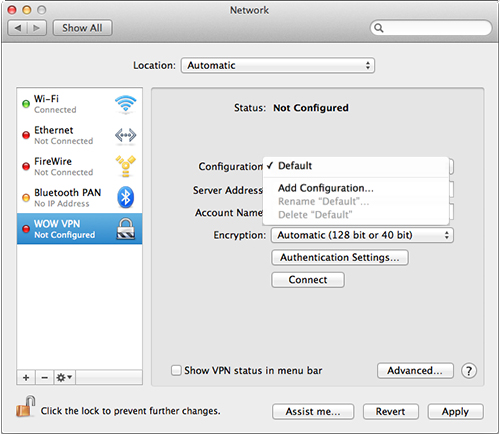
Click on the newly added WOW VPN connection on the left to highlight it, then click the 'Configuration' popup menu.
If you've set the VPN up before, you may see configurations in the list. Be sure to click "Add Configuration..." to add a WOW VPN configuration (see below).
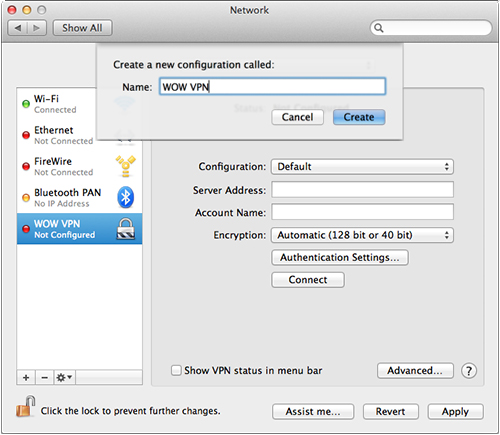
In the next screen, type ‘WOW VPN’ for the configuration name. Then click 'Create'.
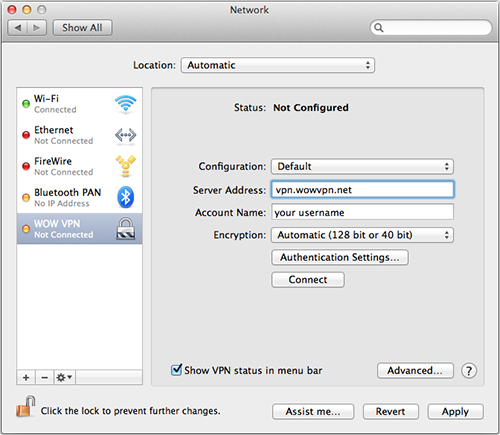
Now that we've created the configuration, we can start entering your VPN information.
Under Server Address enter: vpn.wowvpn.com
Under Account Name enter: your WOW VPN username
Then, click on the 'Authentication Settings...' button. A new sheet drops down.
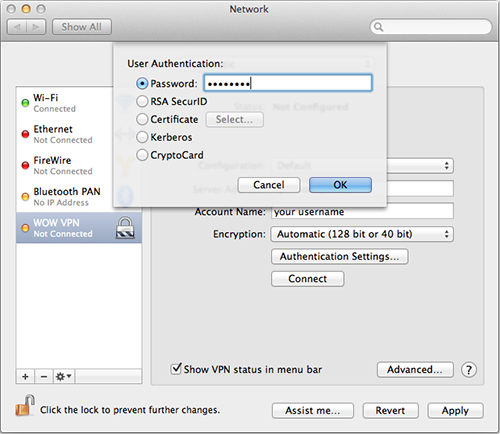
Enter your WOW VPN password then click on 'OK'
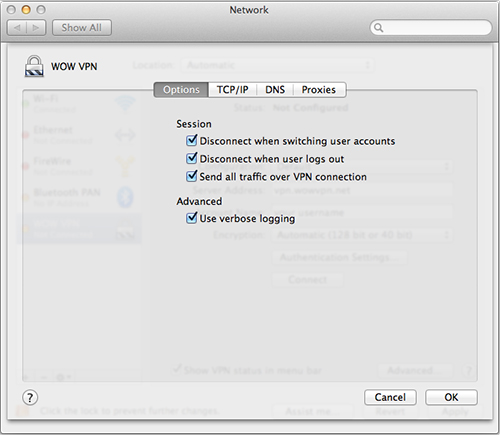
Next, we'll need to adjust some of the advanced VPN settings. To do that, first click the 'Advanced..." button (at the bottom right).
For the VPN to work effectively, the "Send all traffic over VPN connection" checkbox should be marked. Make sure the checkbox is checked, then click on 'OK'.
To actually save the configuration, click the 'Apply' button in the bottom right of the window, then click on the 'Show VPN status in menu bar' check box, and click 'connect'
Once connected to WOW VPN you will see a new icon at the top right of your page advising how long you've been connected. You can click on this icon to disconnect or reconnect to the service at any time.
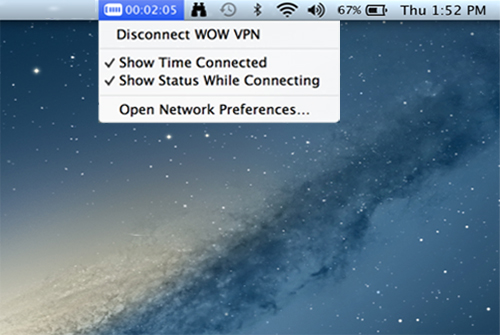
Remember to disconnect when you are not using WOW VPN as your internet connection speed may be faster without it.
Need Help Setting Up WOW VPN?
Our support team is ready to help you configure your VPN connection quickly and securely.
Contact Support
[ back to top ]