


HELP & SUPPORT

The WOW VPN service allows you to reliably route your internet traffic via the WOW VPN servers based in the UK.
Follow this guide to easily setup a WOW VPN connection using Windows XP.
Setting up a VPN connection using Windows XP
To get started click on the start menu, then select Control Panel.

Go to the "Network and Internet Connections" category.

Then go to the "Network Connections" under the Control Panel Icon.

Click on "Create a new connection in the top left, which will then show the Network Connection Wizard.

Click on the next button.

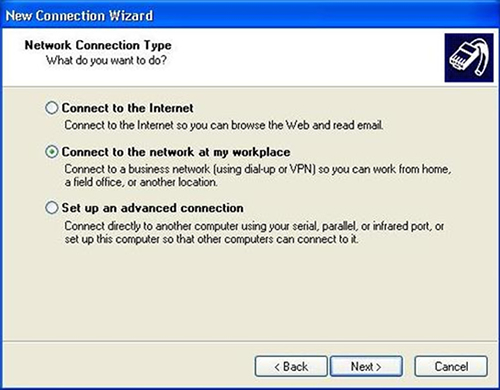
Select the "Connect to the network at my workplace" option. Click next again to continue.
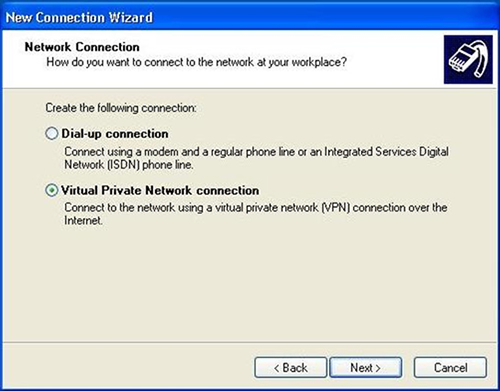
Under "Network Connection" select "Virtual Private Network connection".
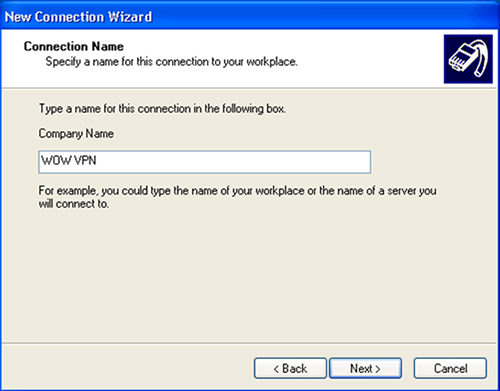
Enter "WOW VPN" as the name of the connection.
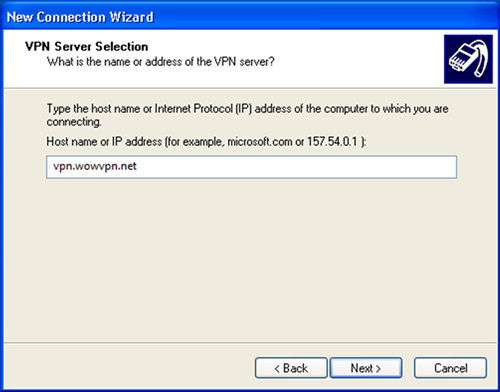
When prompted for the address of the VPN server, enter "vpn.wowvpn.com" Click next to proceed from this screen.
Select either "For all users" or "Only for myself" as appropriate, and click next to move on, you may also want to check the "Add a shortcut to my desktop" box to help you find it next time you want to connect.

Select "Finish" to create the connection and it will automatically try to connect. You should enter your username and password in the connect box, and select "save password".
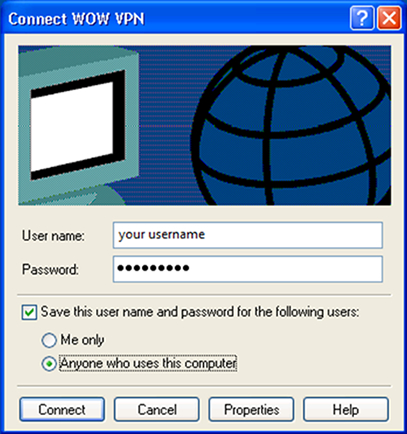
You should now be connected to the Internet via the WOW VPN service.
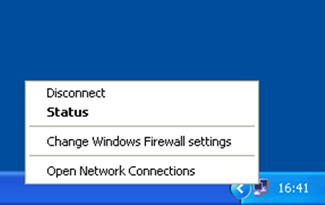
Remember to disconnect from the VPN when you are not using WOW VPN as your internet connection speed may be slightly faster without it.
To do this right click on the WOW VPN network monitors at the bottom right of your task bar, then click on ‘Disconnect’.
To re-connect to the VPN, you should click on the shortcut link on your Desktop "WOW VPN", or in Network and Dialup Connections.